Use Google Tag Manager with AMP on Shopify
Step by step guide to setting up Google Tag Manager (GTM) with Superchargify AMP on Shopify.

This guide will help you configure Google Tag Manager to use with Superchargify AMP pages.
By default, Superchargify AMP records following events with your Google Analytics account & Facebook Pixel;
- Pageviews
- Add to cart
- Quick buy
- Links on the page
- Inbound & outbound links
- Interaction with product image carousel & drawer menu
For other events & analytics providers, you can use Google Tag Manager (GTM).
Let's get started!
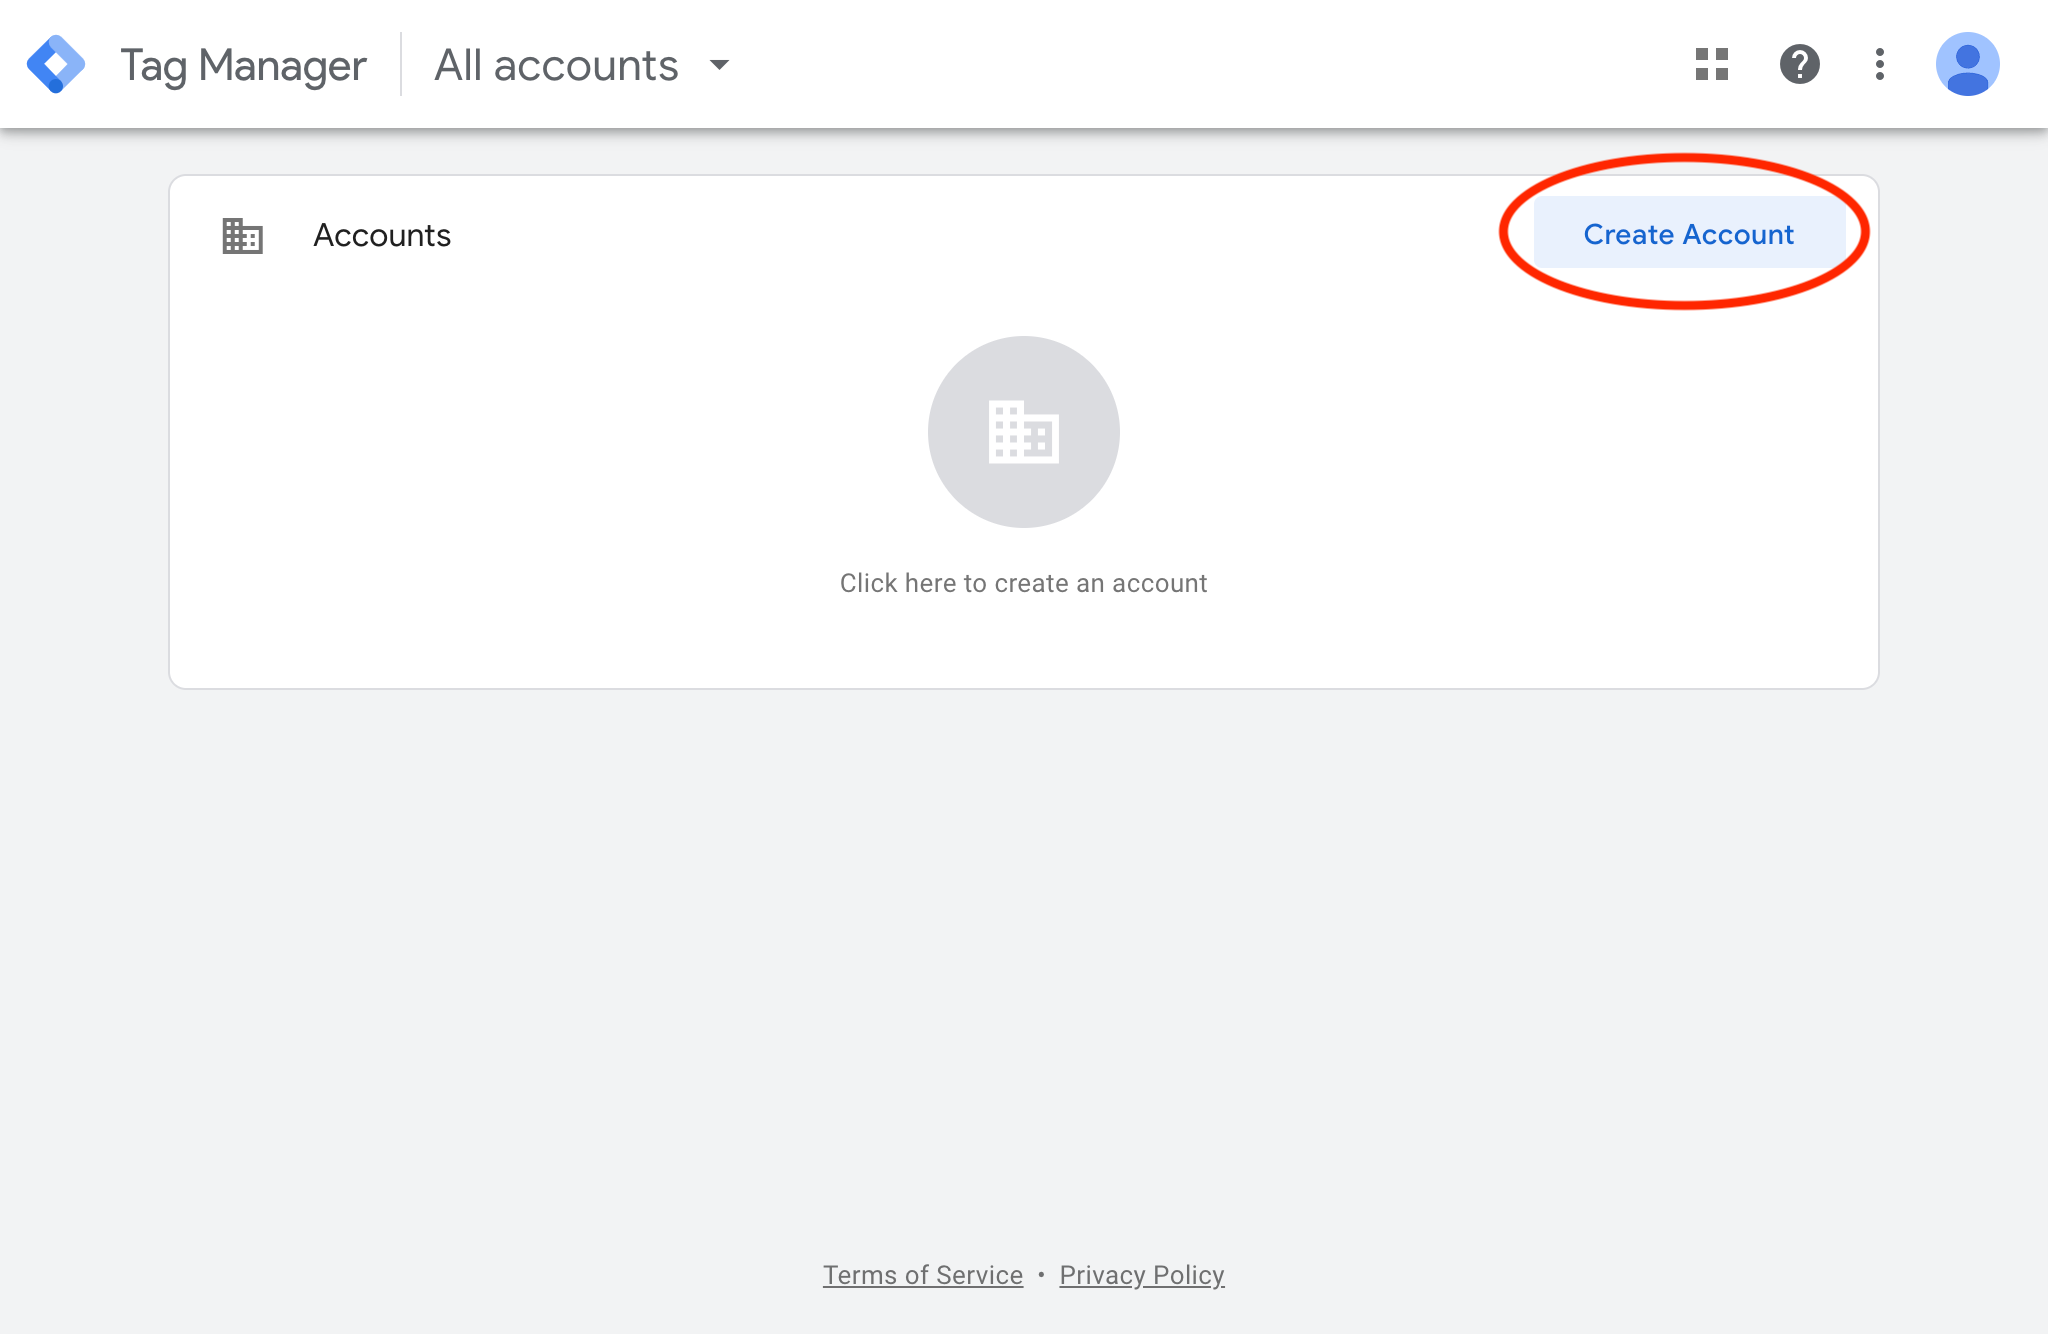
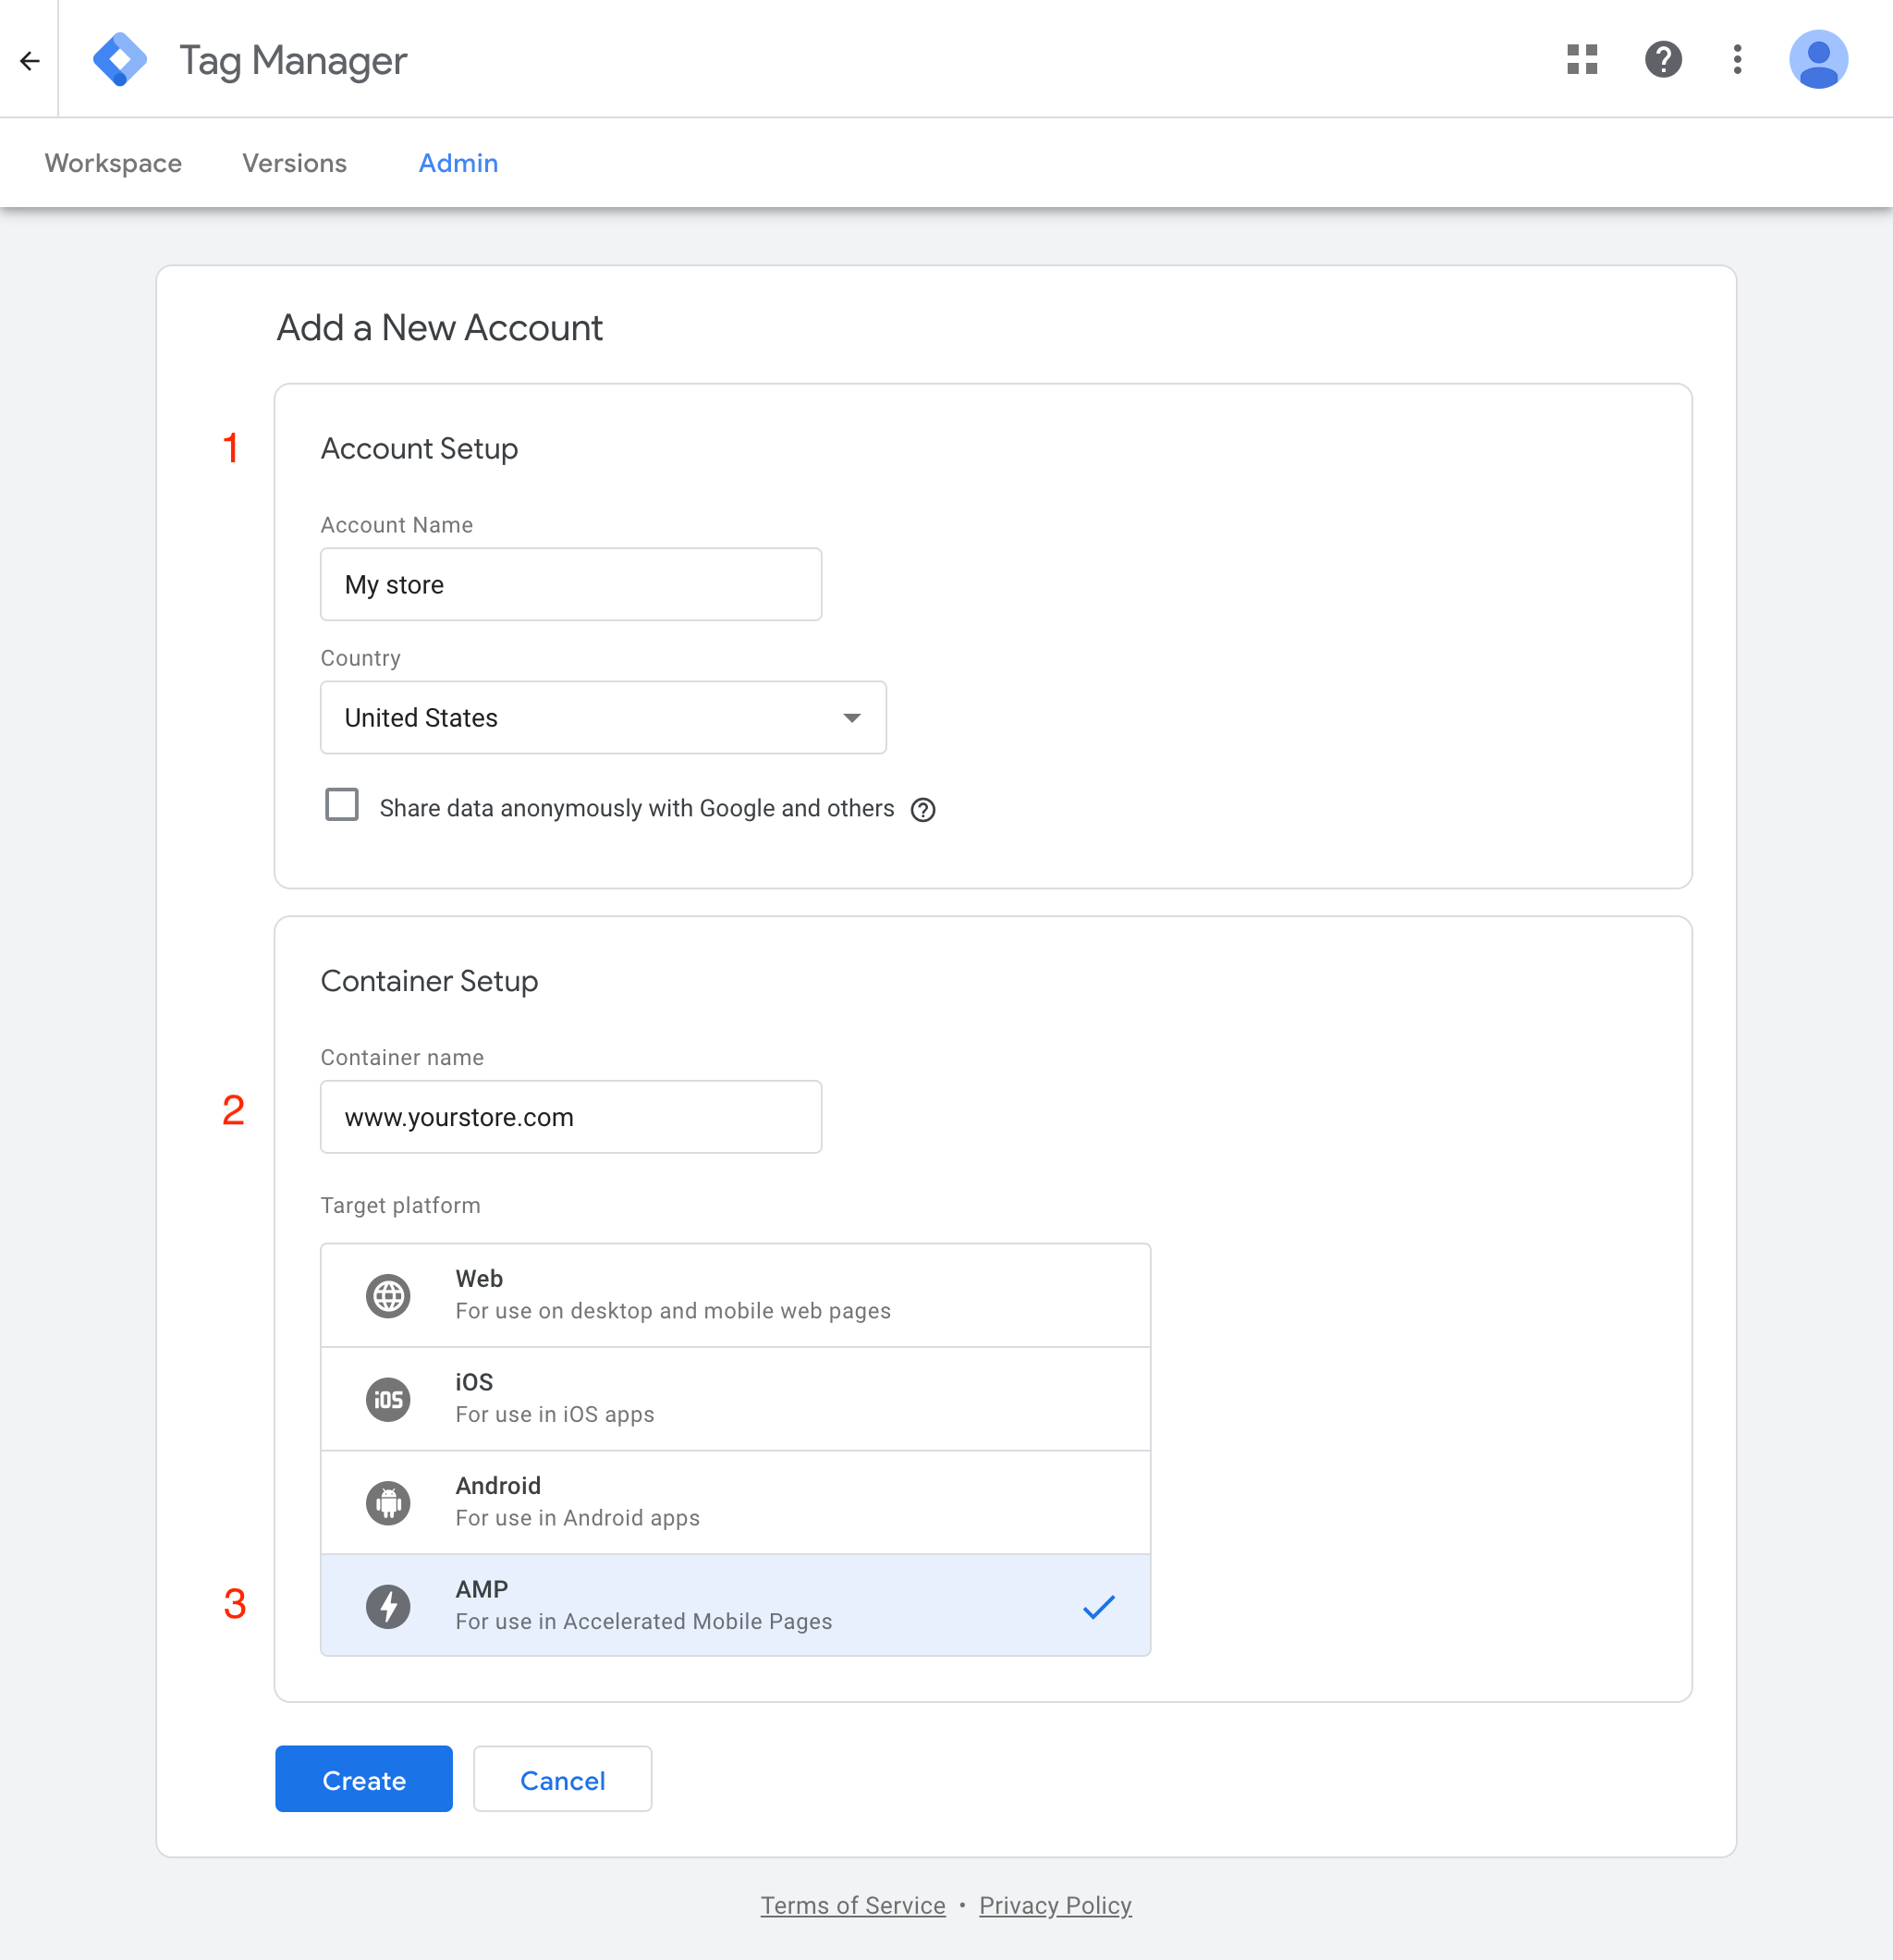
- Create an AMP container.
If you already have an AMP container, please skip to step 2.
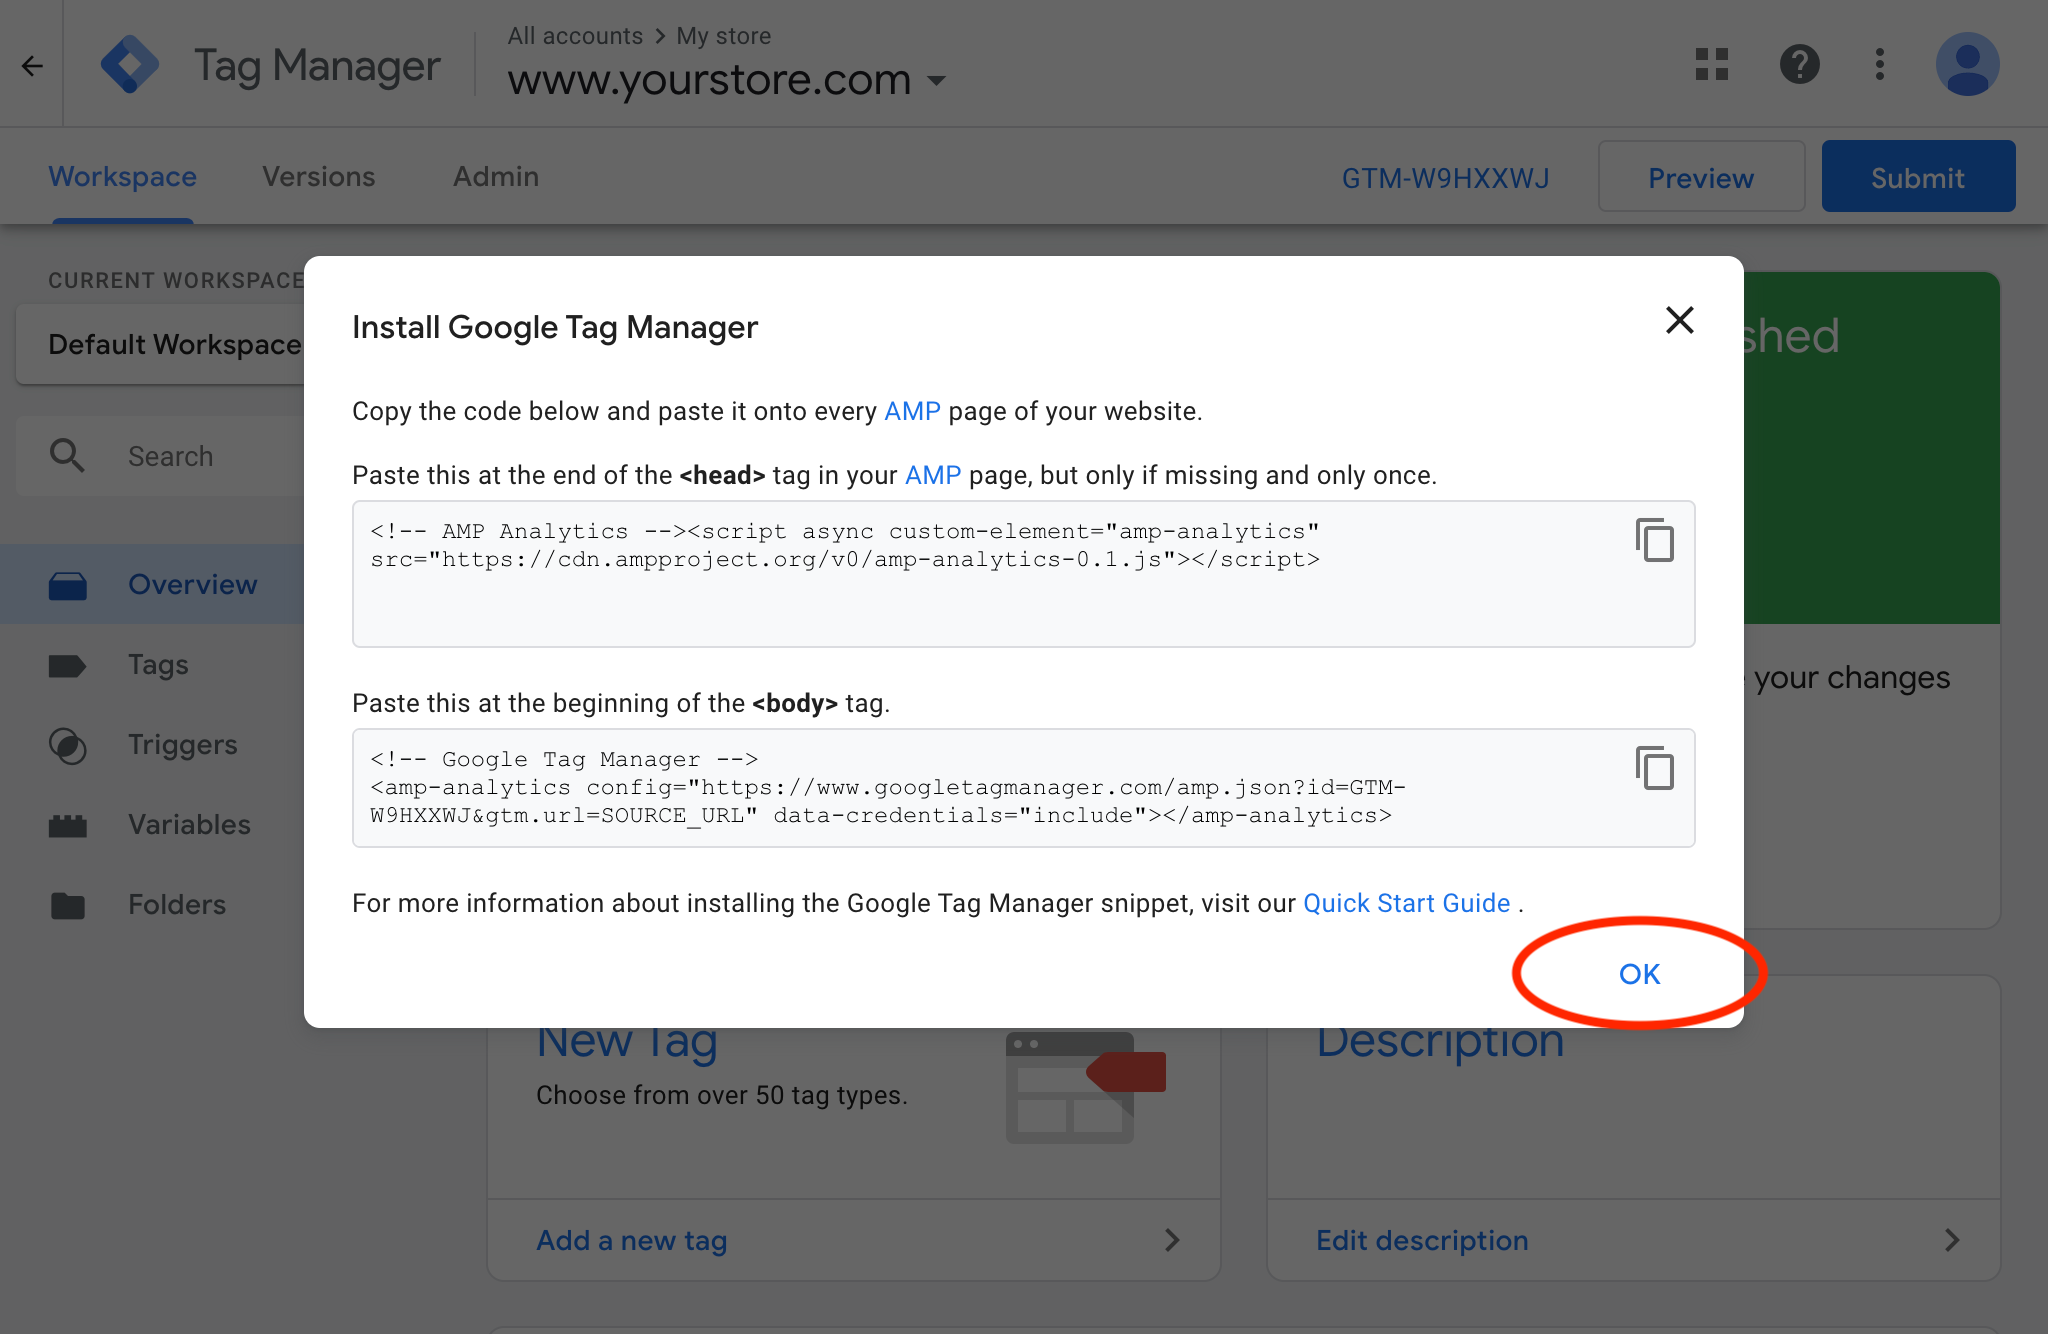
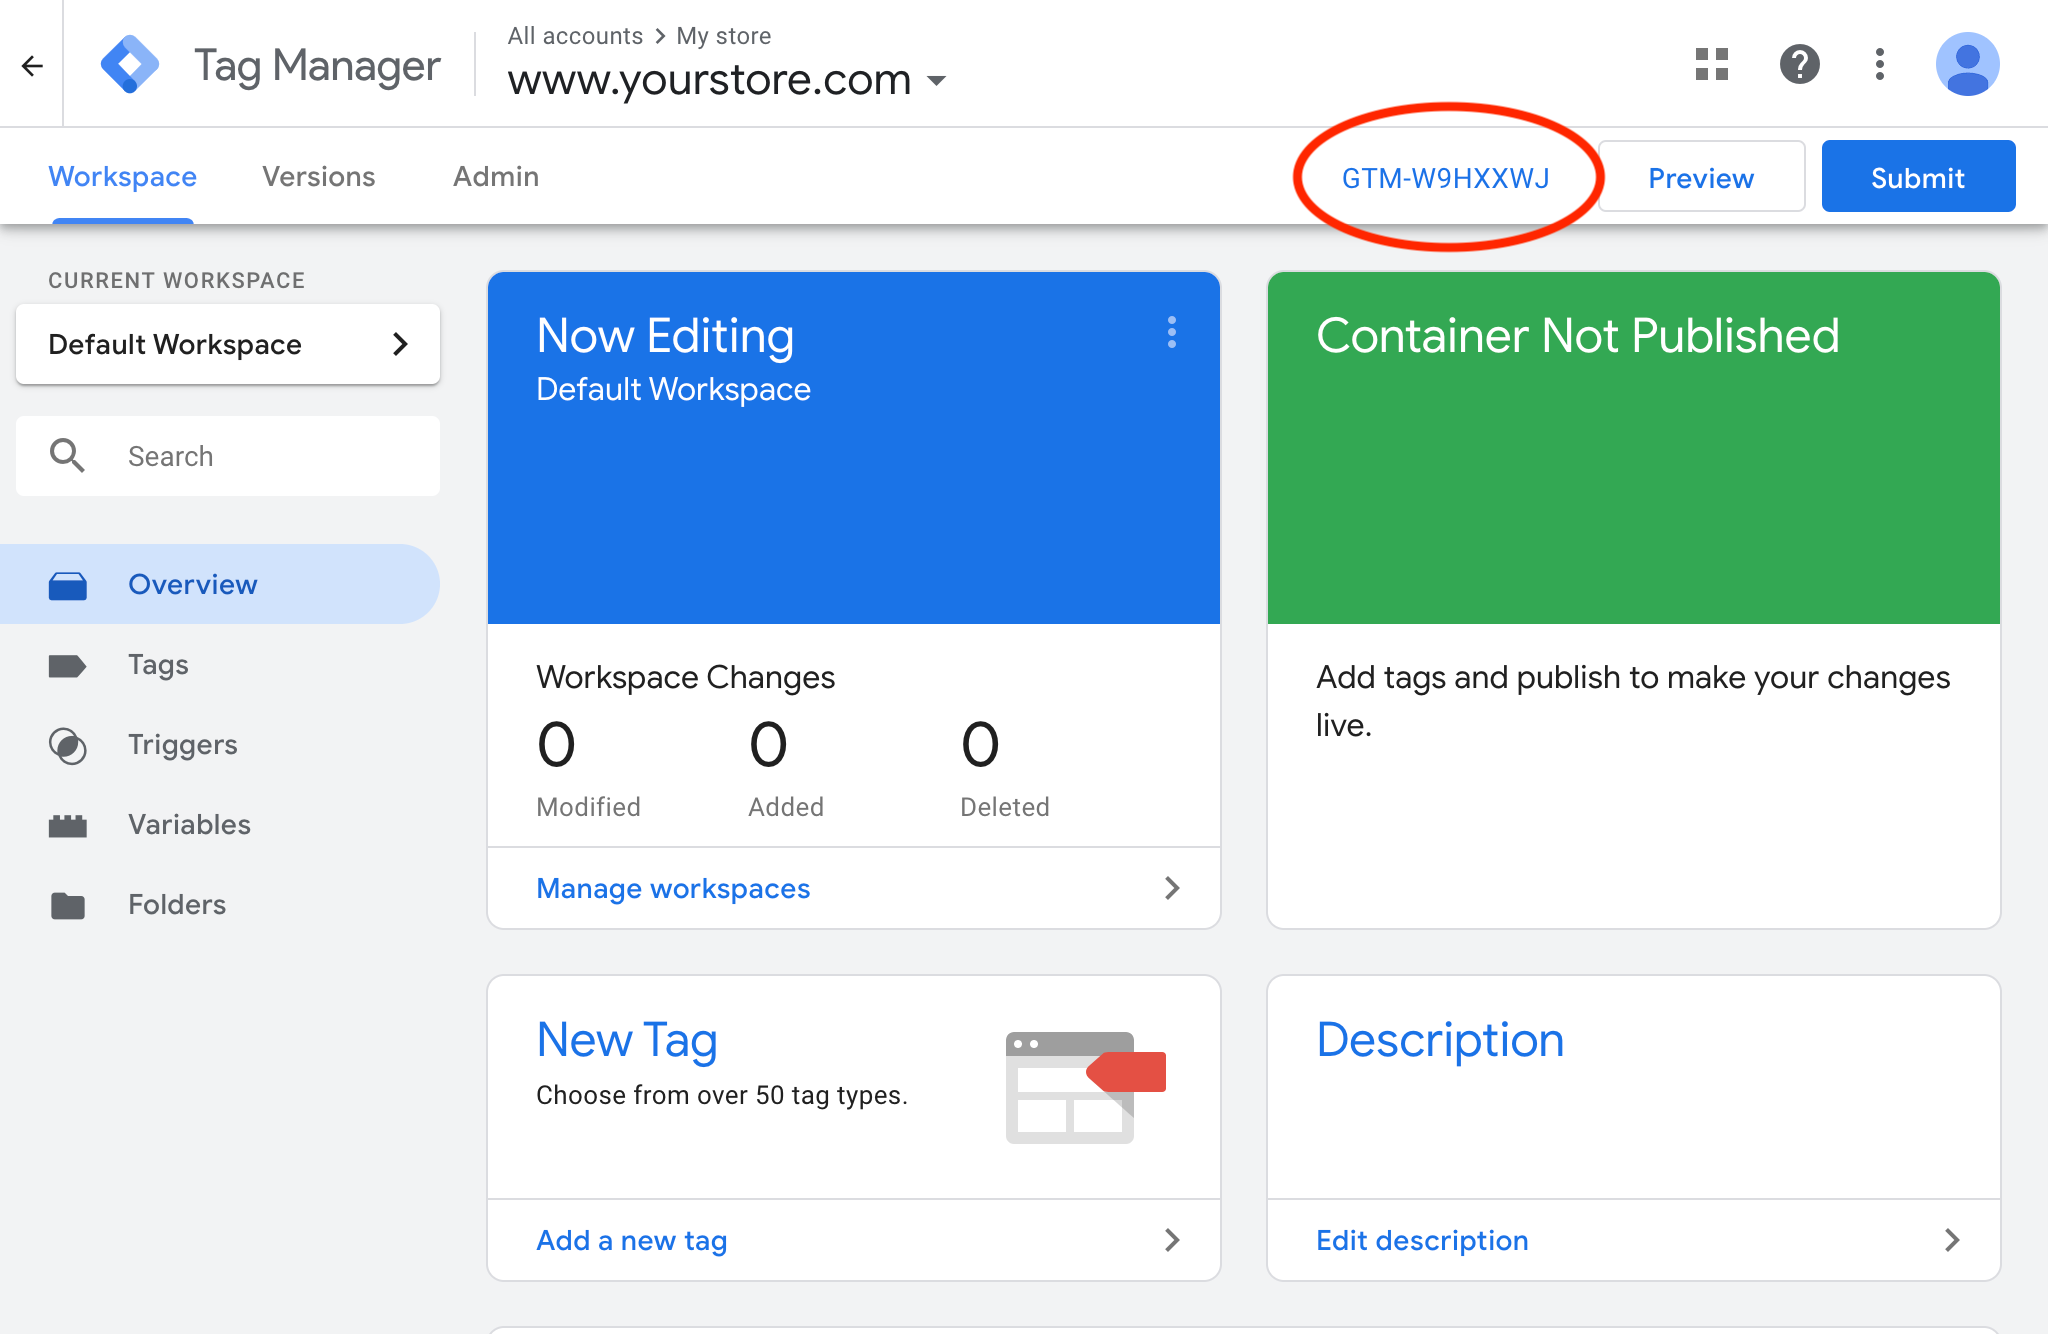
- Copy your GTM container ID, GTM-XXXXXX.
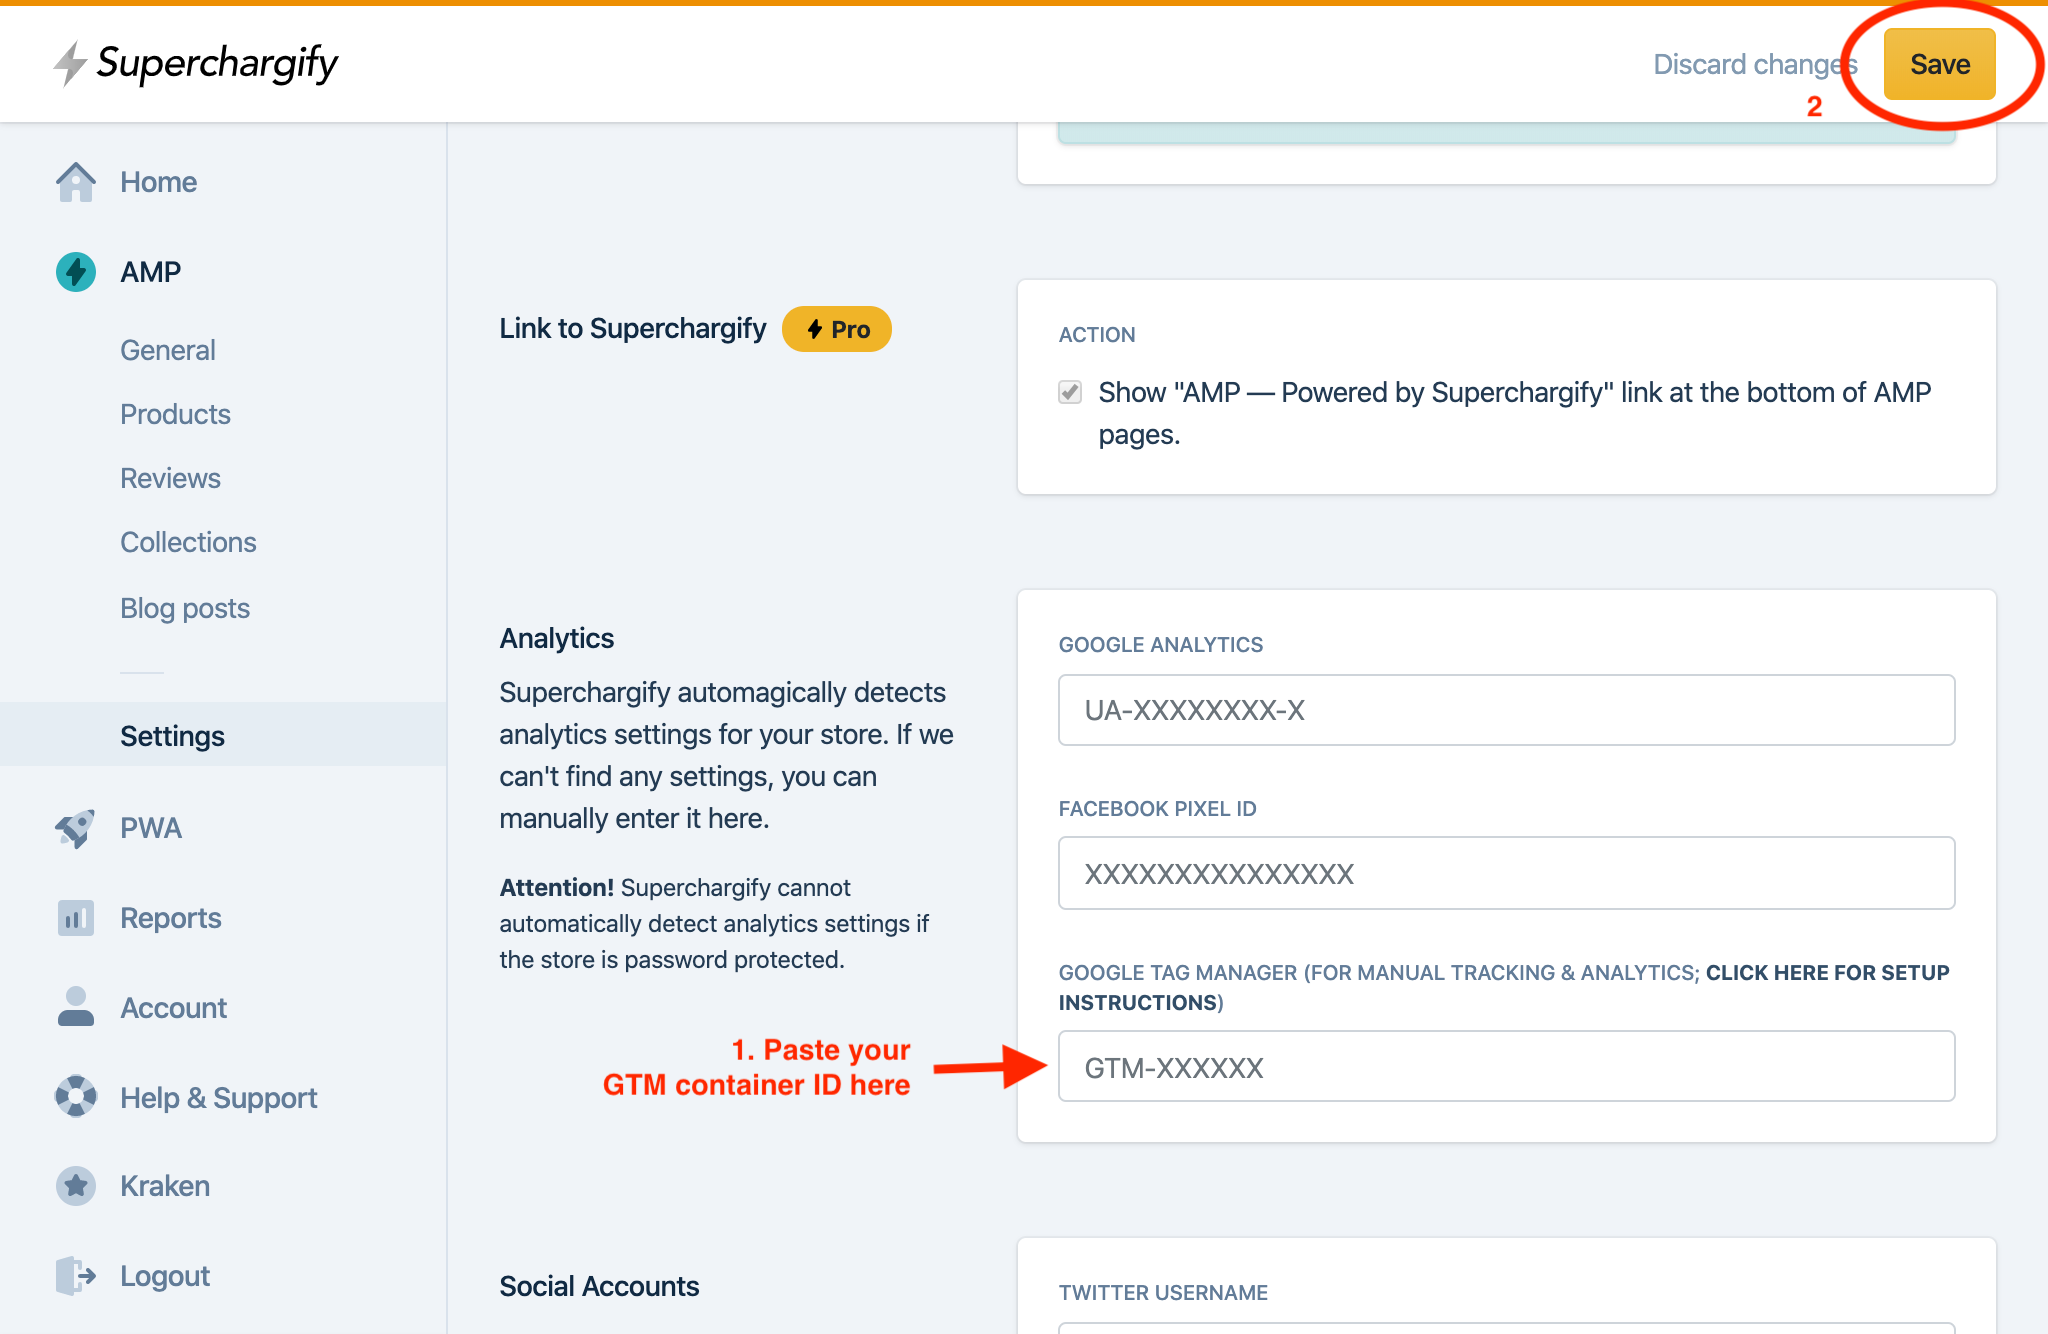
- Visit Superchargify Dashboard, paste your GTM container ID & save your changes.
With these changes, you have now successfully configured Google Tag Manager with your AMP pages!
It is worth pointing out that, currently, GTM supports the following tags for AMP;
- Adobe Analytics
- AT Internet
- Burt
- Chartbeat
- Clicky
- comScore
- Custom image
- Cxense
- Floodlight
- Google Ads
- Google Analytics
- Salesforce DMP (Krux)
- LinkPulse
- Médiamétrie
- mParticle
- ÖWA
- Parse.ly
- Piano
- Quantcast
- Segment
- SimpleReach
- Snowplow
- Webtrekk
To learn more about AMP for Shopify, please head over to superchargify.com/features/amp-for-shopify.
To visit Superchargify on Shopify app store, please head over to apps.shopify.com/superchargify.
For the full list of features, please head over to superchargify.com.
For frequently asked questions, please head over to superchargify.com/faq.
For any assistance, please reach out to us via live chat widget or email us at [email protected].